.png)

Master Preemergence Herbicide Application in 4 Simple Steps
- Spring Touch Team

- May 25
- 7 min read
Updated: 24 hours ago
Introduction
Have you ever followed all the steps for applying preemergence herbicides, only to find your lawn still plagued by weeds? Let’s explore how you can tackle this challenge with four simple steps that make weed control manageable.
But what if your efforts don’t lead to the results you hoped for? By understanding common pitfalls and learning how to troubleshoot, you can ensure your outdoor space remains vibrant and inviting.
Understand Soil Conditions for Effective Herbicide Application
Are you struggling to keep your lawn weed-free? Understanding the right conditions for applying preemergence herbicide can make all the difference.
Start by checking the ground temperature; this simple step can set you up for success. Use a thermometer to measure the temperature at a depth of 4 inches. Preemergence herbicide works best when applied before the ground temperature reaches 55°F, as this is when many weed seeds begin to germinate.
Next, take a moment to assess the moisture content of your soil; ensuring it’s just right can make a big difference. The ground should be damp but not saturated. Sufficient moisture helps activate the preemergence herbicide, which creates a barrier against weed seeds. If the soil is too dry, consider watering lightly before application.
Understanding your soil type is crucial; it helps you tailor your approach for the best results. Different types of ground - sandy, loamy, or clay - affect how well the chemicals are absorbed. Knowing your soil type allows you to adjust the quantity of weed killer you apply.
Finally, take a moment to clear away any debris; this ensures your efforts will be as effective as possible. Removing dead vegetation or thatch guarantees that the weed killer can make direct contact with the ground, maximizing its effectiveness.
By comprehending these ground conditions, you’re not just applying chemicals; you’re investing in a lush, healthy lawn that you can be proud of.

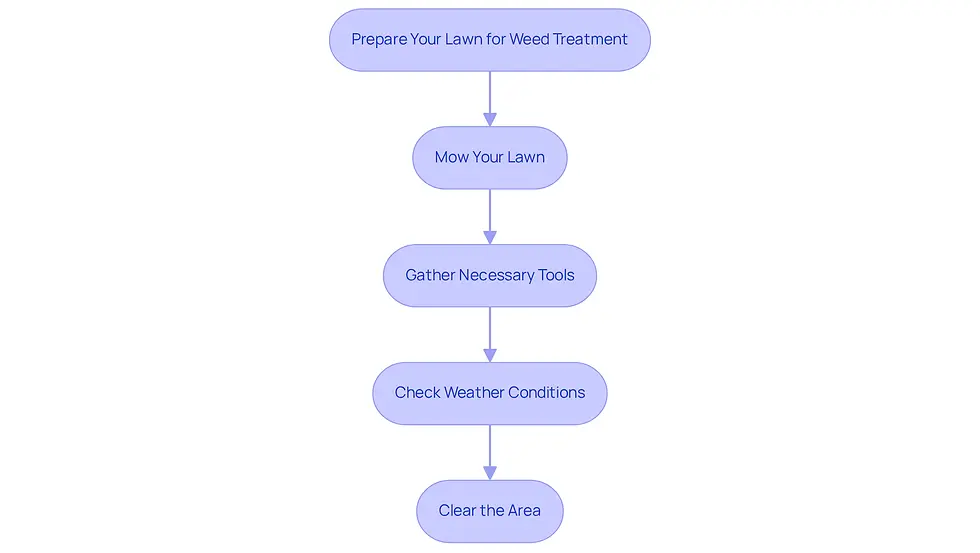
Prepare Your Lawn and Gather Necessary Tools
Are you tired of battling stubborn weeds in your lawn? Proper preparation is the key to a successful weed killer treatment. Follow these steps to ensure your efforts yield the best results:
Mow Your Lawn: Trim your grass to a height of about 2-3 inches. This height allows the chemical to penetrate the soil more effectively and prevents it from being trapped in taller grass.
Let’s Gather the Tools: You’ll need a few essential items for application:
Herbicide: Choose a preemergence herbicide suitable for your lawn type, like Pendimethalin or Prodiamine. Make sure it targets the specific weeds you want to control. Consider using Spring Touch's organic-based fertilizer with bio-solids and crabgrass preventer as your initial treatment to restore nutrients and prevent crabgrass from overtaking your lawn this summer.
Spreader: A broadcast or drop spreader will help you distribute granular herbicides evenly. If you’re using liquids, a sprayer is essential.
Protective Gear: Equip yourself with gloves, goggles, and a mask to safeguard against chemical exposure during use.
Check Weather Conditions: It’s important to ensure that the weather is suitable for application. Avoid applying herbicides on windy days or when rain is forecasted within 24 hours, as these conditions can lead to runoff and diminish effectiveness.
Clear the Area: Remove any furniture, toys, or debris from the lawn to create a clear space for use. This step is vital for achieving uniform coverage and preventing obstacles from disrupting the process. Additionally, consider Spring Touch's second product, which targets dandelions and broadleaf weeds while including grub control, to effectively tackle both weeds and grub infestations. Employing a licensed and insured provider can also guarantee accountability and quality in your garden care choices.
By taking these steps, you not only ensure effective treatment but also foster a thriving lawn that enhances your outdoor space. With the right preparation and tools, you can transform your lawn into a lush, weed-free oasis that you can enjoy all summer long.
Apply Preemergence Herbicide: Step-by-Step Instructions
Applying a preemergence herbicide can feel overwhelming, but with the right steps, you can achieve a lush, weed-free lawn.
Read the Label: Start by carefully examining the product label for detailed instructions on dosage, usage methods, and safety precautions. Grasping these details is essential for a successful implementation.
Set Up Your Spreader: If you’re using a granular weed killer, adjust your spreader to the recommended setting as indicated on the product label. For liquid applications, prepare your sprayer with the correct mixture according to the instructions given.
Let’s Get Started on Applying the Herbicide:
For granular herbicides, maintain a steady walking pace, slightly overlapping each pass to ensure even coverage. Consistency in distribution rate throughout the entire grass area is essential.
For liquid weed killers, apply uniformly over the grass, keeping a consistent distance from the ground to avoid pooling.
Water the Grass: After application, lightly water your grass with about 0.5 inches of water. This step is crucial as it activates the chemical, allowing it to penetrate the soil and create a protective barrier against weed seeds. Additionally, consider using Spring Touch's organic-based fertilizer with bio-solids and crabgrass preventer as part of your spring yard care routine to restore nutrients and prevent crabgrass from overtaking your grass this summer.
Clean Up: Once you have finished the application, thoroughly cleanse your tools and equipment to prevent any remaining chemicals from impacting other parts of your lawn or garden.
By following these steps, you can ensure that your preemergence herbicide treatment is applied correctly, maximizing its effectiveness in preventing weed growth. Timing is crucial. Apply the herbicide when soil temperatures consistently reach 55 degrees Fahrenheit for the best results. Furthermore, be mindful of local weather patterns that may influence the timeframe, and consider the possible necessity for redoing in spring to ensure effective weed control. Spring Touch's second treatment targets dandelions, broadleaf weeds, and includes grub control to tackle both weeds and grub infestations, which can be particularly invasive as ground temperatures rise. Taking these steps not only protects your lawn but also gives you peace of mind knowing you’re doing everything you can to keep it healthy and vibrant this summer.

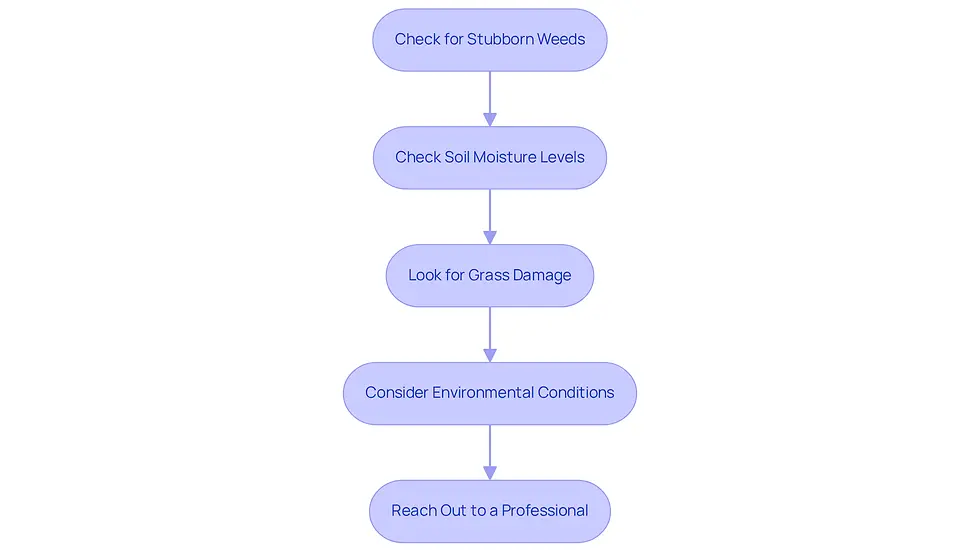
Troubleshoot Common Issues After Application
It’s disheartening to see weeds in your lawn after applying a preemergence herbicide, but don’t worry; there are steps you can take to troubleshoot effectively.
First, let’s take a moment to check for any stubborn weeds that may have appeared. If you notice weeds still popping up, it’s important to ensure that the preemergence herbicide was applied at the right time, ideally before ground temperatures reached 55°F, and that the dosage was suitable.
Next, let’s check the moisture levels in your soil to ensure everything is just right. If the ground was too dry after treatment, the chemical may not have activated properly. If needed, consider watering again to help it along.
It’s also wise to look for any signs of damage to your grass, as this can indicate an issue with the application. If you see any discoloration, take a moment to examine the product label for instructions on the proper dosage and usage method.
Let’s consider the environmental conditions as well, since they can greatly affect the treatment’s success. Heavy rainfall shortly after the application of the preemergence herbicide can wash it away, which reduces its effectiveness. If this happens, you may need to reapply once the soil has dried sufficiently.
If you’re still facing challenges, reaching out to a garden care professional can provide you with tailored advice and support.
Taking these proactive steps can help you maintain a vibrant, weed-free lawn that you can be proud of.
Conclusion
Achieving a healthy, weed-free lawn can feel overwhelming, but it doesn’t have to be. By understanding the right soil conditions, properly preparing your lawn, and following detailed application steps, you can enhance the effectiveness of your weed control efforts. It’s about nurturing your outdoor space so it can truly thrive.
Key insights from this guide highlight the importance of:
Timing
Soil temperature
Moisture levels
Using the right tools and techniques
From measuring ground temperature to ensuring the right weather conditions, each step plays a crucial role in the success of your herbicide application. Additionally, troubleshooting common post-application issues can help maintain the integrity of your lawn and ensure lasting results.
By dedicating time and care to these practices, you’re not just protecting your lawn; you’re creating a more enjoyable outdoor haven for yourself and your loved ones. Embrace these steps and techniques to transform your lawn into the lush oasis you envision. Imagine stepping outside to a vibrant lawn that brings you peace and joy every day.
Frequently Asked Questions
What is the importance of understanding soil conditions for herbicide application?
Understanding soil conditions is crucial for effective herbicide application as it ensures optimal performance of the preemergence herbicide, helping to keep your lawn weed-free.
What ground temperature is ideal for applying preemergence herbicide?
Preemergence herbicide works best when applied before the ground temperature reaches 55°F, as this is when many weed seeds begin to germinate.
How should I measure the ground temperature for herbicide application?
Use a thermometer to measure the temperature at a depth of 4 inches in the soil.
What moisture level is ideal in the soil before applying herbicide?
The soil should be damp but not saturated. Sufficient moisture helps activate the preemergence herbicide, creating a barrier against weed seeds.
What should I do if the soil is too dry before applying herbicide?
If the soil is too dry, consider watering lightly before application to ensure proper activation of the herbicide.
Why is it important to know your soil type when applying herbicide?
Different soil types-sandy, loamy, or clay-affect how well the herbicide is absorbed. Knowing your soil type allows you to adjust the quantity of weed killer you apply for the best results.
What should I do to prepare the area before applying herbicide?
Clear away any debris, such as dead vegetation or thatch, to ensure that the weed killer can make direct contact with the ground, maximizing its effectiveness.
How does understanding ground conditions contribute to lawn care?
By comprehending ground conditions, you are not just applying chemicals; you are investing in a lush, healthy lawn that you can be proud of.
List of Sources
Prepare Your Lawn and Gather Necessary Tools
Organic Weed Control Case Studies | OFFER (https://offer.osu.edu/eco-weed-mngt/case-studies)
What to Look For in Lawn Care Quotes | Bethel Farms (https://bethelfarms.com/blogs/bethel-blog/lawn-care-quotes-what-to-look-for-before-you-hire)
Raise the Mowing Height for Weed and Grub Defense (https://canr.msu.edu/resources/mow_high_for_weed_and_grub_control)
Maximize Your Lawn Care Quotes: The Ultimate Strategy Guide (https://realgreen.com/blog/lawn-care-quote-guide)
Apply Preemergence Herbicide: Step-by-Step Instructions
When to Use Pre Emergent Herbicide: Best Time to Apply | Lawn Doctor (https://lawndoctor.com/blog/pre-emergent-herbicide-how-to-use-when-to-apply)
Getting the most out of pre-emergence herbicides: It starts with your soil (https://blog-crop-news.extension.umn.edu/2025/04/getting-most-out-of-pre-emergence.html)


